Saturday, May 28, 2011

Mixing It Up with Pattern

I don't know if trained designers and decorators have "rules" for mixing together different prints and patterns to get a cohesive look, but I have a few principles I like to follow so I don't end up with something that looks like an outfit Ugly Betty chose in the dark:

1. Work Within a Color Palette: This is probably a no-brainer, but I try to pick patterns that share at least a few colors or are complimentary colors (blue and green) or opposite colors (aqua and tangerine).


Designers actually make it easier to follow this rule because they frequently design entire collections of fabrics that are meant to coordinate, both in colorway and pattern. I picked up three fabrics for my patio project by Dwell Studio for Robert Allen called Zoo Stripe Grey, Zoo Scene Blue, and Zoo Flora Lime. The "Zoo" in the name was a clue that they were all designed to mix and match and the colors are obviously complimentary, although not too matchy-match (the Flora doesn't have the blue and gray tones in it, the Stripe doesn't have the brown). The key when working with these pre-matched collections is to not go overboard and try to throw in ALL of the choices (unless you're doing a quilt or a pennant banner or something and looking for a crazy mix) and to follow some of the other principles with regards to scale, contrast, and type of pattern. I loved both Zoo Scene (those elephants!) and Zoo Flora, but wasn't sure about putting them together - the scales were too similar and I didn't think the Flora had enough color overlap with the Scene. The Stripe, I think, compliments both and makes it work.

2. Play with Scale: I think patterns mix better if they are not all competing for attention with one another so if I'm doing two florals, I pick one that is bold and big and one that is much smaller in scale. Also keep in mind you're not necessarly going to use the two fabrics in the same proportions. If you're doing a pillow in the bold floral below, you might want to use the smaller print for the back of the pillow or for the piping or a ruffle for example so that it accents the bolder pattern rather than competes with it.


3. Go for Contrasts: If one of my patterns has a lot of color, I'll pick another with a little of the same colors and a lot of white like the examples below. Because these two are so similar in scale, I'd probably toss in a stripe for good measure or maybe just break it up with a solid. In this case I'd most likely use the two patterns in the same proportions: mix and match pillows for example, since both are too bold to take on an accent role. The fact that both patterns are a similar damask type print helps them harmonize but the opposite colorway is what really keeps them singing.

4. Don't be afraid to Mix it Up: For me the easiest things to match are completely different patterns - florals with stripes or checks, geometrics with figurals. Let your bold pattern take the staring roll and use the more moderate pattern as an accent.


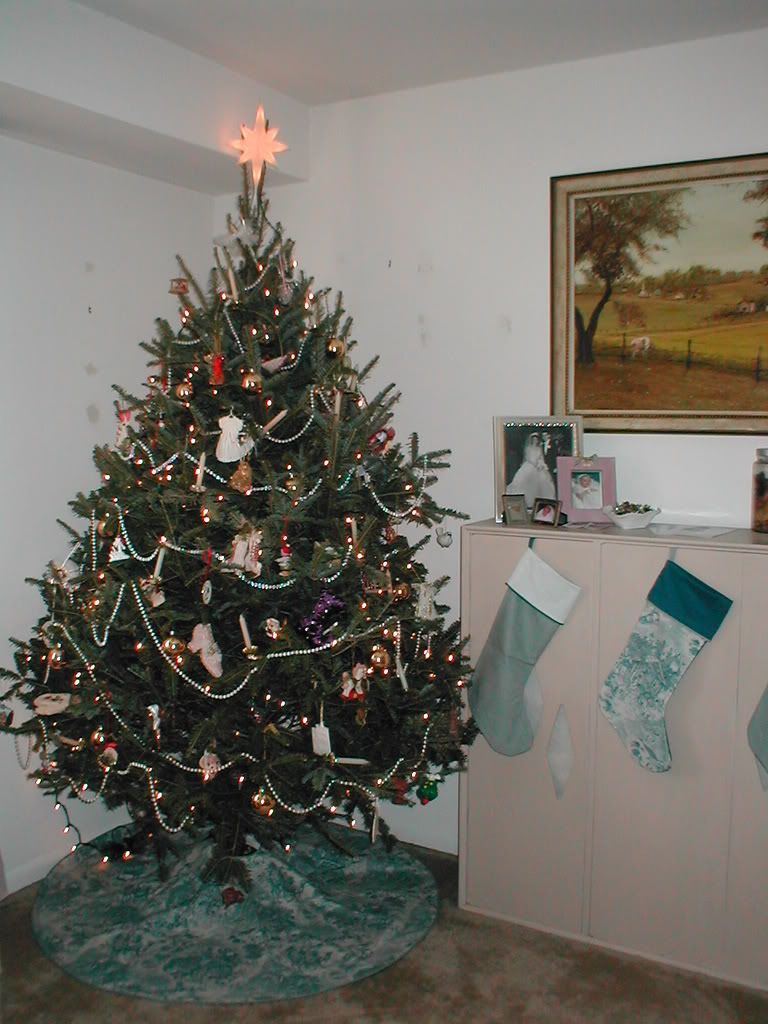
For example, for the Christmas tree skirt and stockings I made eons ago, I paired a print I think was called Christmas Toile (and sorry, I have no idea who made it) which is a big, busy, figural print showing little vignettes of the manger scene, wisemen, etc., with a much plainer, simpler small-scale check. The colors match, the patterns don't compete for attention and it all blends together harmoniously. I also threw in some solids to mix it up, because I'm ecclectic that way.

As you can see, I'll often use more than one of these principles at a time - mixing small and large, floral and geometric, and all in the same tones. Really just go with your gut and what looks pleasing to your eye - you are, after all, the one who has to live with it. And if you end up with two things that just don't seem to work together, you may be able to salvage it by tying in a third choice: two bold florals might stop competing if you pull in a stripe or colors that seem too disparate might benefit from a print that combines their palettes.

Tuesday, May 17, 2011

Smurfy Gets a Friend


Good friends are hard to find. Square picture frames larger than 12" are even harder to find. You may remember when I first spray painted my ugly brown thrift store candlestick Smurfalicious blue I wasn't sure if I was really on board with the color or not. My master bathroom color scheme was an extension of the bedroom - aqua blues, sand, dark brown wood - and as a windowless space, it was kind of blah. I thought the brigher blue candlestick might help perk things up in there, but the only thing it sort of matched was a blue glass bottle on top of the cabinet. So when I came across this pretty turquoise blue, brown, white, and kelly green silk scarf on a recent thrift store outing I thought it might just do the trick. It was approximately 21" square - yeah, just try to find a picture frame that big without going the custom framing (i.e. mucho expensivo) route. Determined to make it work, I settled on a 12" square with a chunky, dark brown frame. Why the heck are picture frames so darn expensive anyway? Did you know half of them aren't even wood anymore? So $20 for a plastic frame, which Michaels had on sale for 40% off and then I had a coupon for another 25% off, so it came in at just under $10 - fine for one frame, but ouch still a lot if you're planning a gallery wall.

Now obviously my 21" square scarf was not going to fit into a 12" picture frame, and I didn't want to cut it, so, using the backing as a guide, I folded the edges under and ironed them flat. Ta dah! Perfect fit.


The old bathroom art was two photographs I had taken in Charleston, SC back in the days before digital photography. I scanned them and printed them on my ink jet printer, and while I still love them, the ink was beginning to fade and I was getting tired of the frames. I'm considering a photo gallery in the hallway, so they may be reprinted and repurposed there at some point. Because I was replacing two pieces of art with one, I did have to move the hook to hang somewhere in between where the old pieces were originally positioned.


I also wanted to try to work in the green sunflower mirrors I'd used on my Easter table. You may remember they were anti-freeze green and very, VERY plastic, so I spray painted them with Krylon oiled bronze spay paint which was only $2 at Walmart. I have no idea why it was so cheap, all the other colors were more. Because of the smooth, plastic surface I primed with Zinsser B.I.N. Primer, which I'll also be using when I get to a pair of caned chairs with a lacquered finish that are high up on my list for a makeover - it was $8, yikes. If I didn't need it for the chairs I wouldn't have spent that on these cheap-o little mirrors.

Once I had the frames painted and the mirrors back in I played around with the placement a little and finally settled on one underneath the scrarf and slightly off center and one centered above. I arranged Smurfy, a green glass jar, and a metal tin on the back of the tank (why can't they make this perfectly level?) and with the scarf to tie everything together I am much happier with the candlestick's makeover now and I like the brighter colors in the bathroom so much I'm thinking of dying my towels a brighter blue too.


So there you have it, a little spray paint, a little ingenuity, and probably around $20 netted a much bigger and brigther impact for this small space.

I'm linking up to Thrifty Decor Chick's "Home May'd Spray Paint Party." Jump on over and check out everyone's great projects.


Related Posts Plugin for WordPress, Blogger...